Banish Cookware Stains for Good: My Proven Method
Have you ever scrubbed a pan until your arms ached, only to find the discoloration staring back at you? I have. After years in my kitchen, I’ve faced every type of burnt-on food and persistent mark imaginable.
I tested countless commercial cleaners and home remedies. My goal was to find what actually works. Now, I’m sharing my proven method.
My approach uses simple, affordable household ingredients. You likely already have them in your pantry. This eliminates the need for expensive specialty products.
This guide walks you through my personal experience. Different materials present unique challenges. Whether it’s stainless steel, cast iron, or non-stick, I have methods that restore your items without damage.
Understanding why certain marks are so tough was key. For example, learning effective methods for stainless steel changed my routine. Proper care is also vital for other surfaces, as outlined in this guide on proper care for non-stick surfaces.
My goal is to help you save money and time. You can rescue stained pieces instead of replacing them.
Table of Contents
Key Takeaways
- Simple household ingredients are often the most effective cleaners.
- Understanding the science behind stain formation leads to better cleaning strategies.
- Different cookware materials require tailored cleaning approaches.
- Affordable methods can restore your pans to like-new condition.
- Proper technique can save you money by extending the life of your kitchenware.
- Patience and the right method are more important than harsh scrubbing.
- Preventative care reduces the frequency of deep cleaning sessions.
Understanding Why Cookware Stains Won’t Come Off
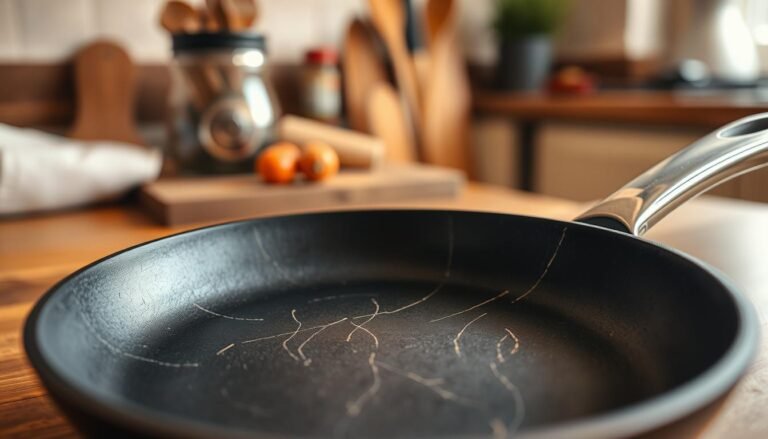
Heat, grease, and food debris combine to create bonds that challenge ordinary cleaning. A single moment of distraction can lead to a scorched pot. The result is an oxidized, blackened surface that seems impossible to restore.
The Role of Heat, Grease, and Debris in Stain Formation
I’ve learned that heat is the primary culprit. It causes chemical changes that fuse food particles directly to the pan surface at a molecular level.
When I accidentally leave a pan on high heat too long, the grease and oils polymerize. This creates a hard, sticky layer that dish soap cannot dissolve.
Food debris undergoes a process similar to carbonization. It transforms into a hardened crust that adheres tenaciously.
Rainbow-colored marks on stainless steel are a common sight. These are harmless heat tints from chromium oxidation at extreme temperatures. They do not affect the pan‘s function.
My Personal Experience with Stubborn Cookware Challenges
My struggle taught me that timing is everything. The longer residue sits, the more firmly it bonds. Immediate cleaning is far more effective.
Through experience, I discovered different types of marks form depending on what was cooking. Proteins create different residues than sugars. Each requires a slightly different approach.
Grease is particularly challenging. Oils penetrate microscopic pores in the metal surface. When heated repeatedly, they build up in layers that become tough to remove.
Understanding this chemistry has been crucial. It helps me choose ingredients that can break down these stubborn bonds.
Essential Cleaning Ingredients and Their Benefits
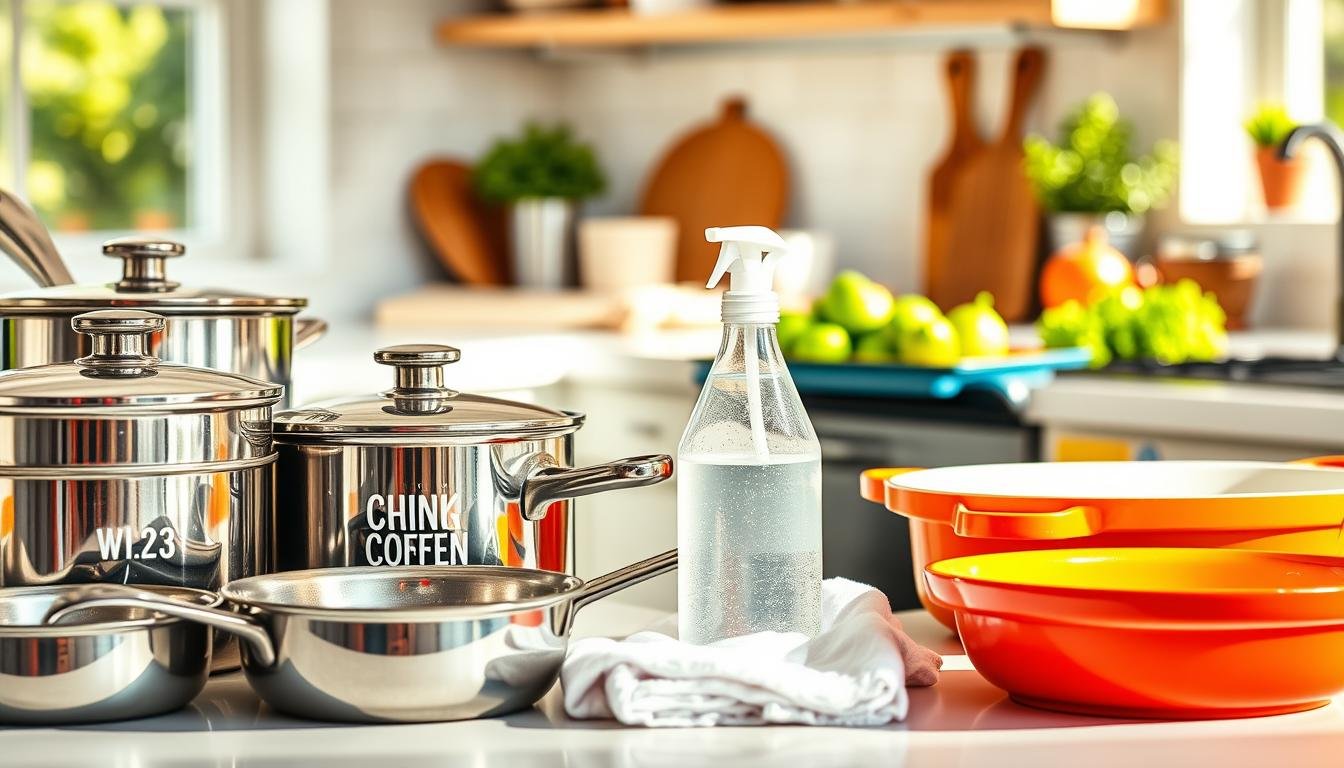
Forget expensive cleaners; the most powerful cleaning agents are already in your pantry. I built my entire method around three household staples: baking soda, vinegar, and lemon. They are safe, effective, and incredibly affordable.

How Baking Soda, Vinegar, and Lemon Work Together
Baking soda is my primary cleaner. Its mild abrasive properties scrub marks away without scratching the metal. Its alkaline nature also neutralizes acidic burnt foods.
When I combine this baking soda with an acid like vinegar or lemon juice, a fizzing reaction occurs. This action helps loosen and lift burnt particles from the surface.
I create a paste by mixing baking soda with water. A ratio of three parts soda to one part water works perfectly. This paste clings to surfaces and tackles tough spots.
Lemon juice adds extra cleaning power and a fresh scent. Vinegar helps break down residue and deodorizes. This trio works on various materials, including carbon steel pans.
Simply using hot water with these ingredients can make a big difference. The synergy between them forms the foundation of my proven system.
Step-by-Step Guide to Cleaning Your Cookware
My step-by-step process begins with a crucial, often overlooked step: proper preparation. A good foundation makes the actual cleaning much easier. I tailor my approach based on the material, as each type requires specific care.
Preparing Your Pan: Pre-Cleaning and Debris Removal
I always let my pan cool completely first. Sudden temperature changes can warp the metal. Once cool, I use a wooden spatula to scrape off any loose, burnt food from the bottom.
This gives my cleaning paste direct access to the tough, bonded layer. It’s a simple step that saves a lot of scrubbing effort later.

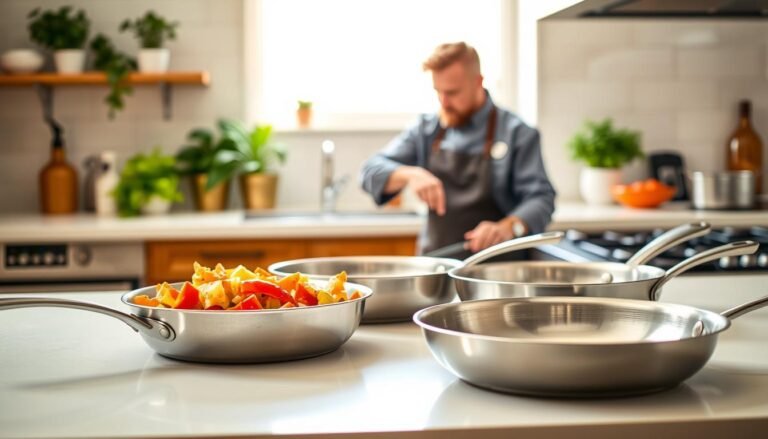
Detailed Methods for Stainless Steel, Cast Iron, and Non-Stick Pans
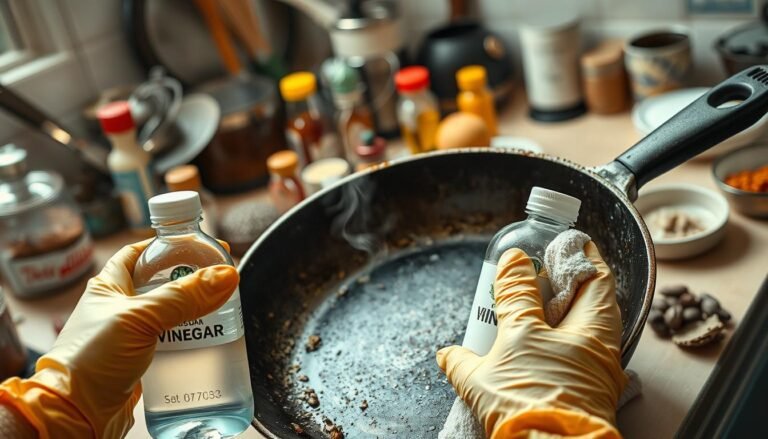
For stainless steel, I use a deglazing technique. I heat the pan, add a mix of water and white vinegar, and let it simmer to loosen residue. A detailed step-by-step guide for stainless steel pans can offer more specifics.
My go-to for tough spots is a baking soda paste. I spread it on, let it sit, then scrub with a damp sponge or crumpled aluminum foil.
Cast iron needs a gentler touch. I avoid soap and use a stiff brush with a dry baking soda paste. After rinsing, I immediately re-season it with oil to protect the surface. Understanding the fundamental differences between stainless steel vs. cast explains why their care differs so much.
For non-stick surfaces, I’m very careful. I use only a soft sponge and a mild baking soda solution to avoid damaging the coating.
Expert Tips and Troubleshooting for Burnt and Stubborn Stains
When basic cleaning fails, my advanced techniques tackle the toughest burnt-on messes. This guide shares my proven troubleshooting methods for persistent discoloration.

Advanced Techniques: Baking Soda Paste, Deglazing, and Fizzing Reactions
For extreme cases, I intensify the baking soda reaction. I add a few tablespoons of white vinegar to the mixture before boiling. This creates a powerful fizz that lifts residue.
Rainbow heat tints on stainless steel vanish easily. I apply vinegar diluted with water and rub with a soft sponge. The discoloration wipes away without elbow grease.
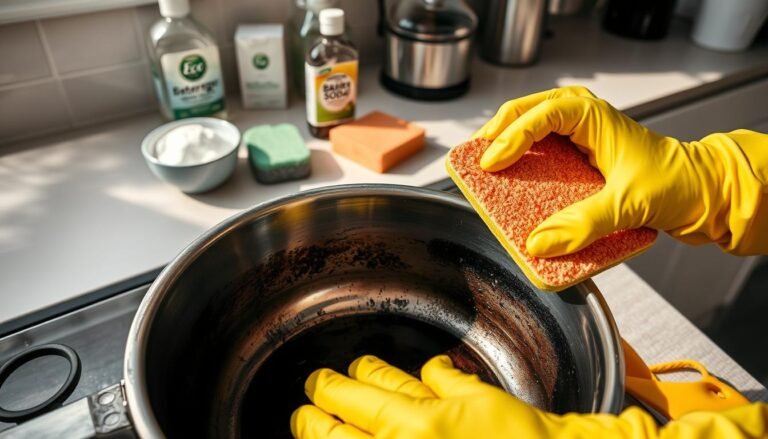
Cleaning the exterior bottom of pots pans requires a special method. I pour hot water over the back, sprinkle baking soda, let it sit, then add lemon juice to sizzle. A gentle scrub finishes the job.
For cast iron, I use a coarse sea salt scrub. I massage it in with a cloth to exfoliate without damaging the seasoning. I always apply a thin layer of oil after cleaning.
Patience is key. Let the pan cool completely. Repeat applications if needed. Rushing can set marks deeper.
| Pan Type | Method | Key Ingredient | Pro Tip |
|---|---|---|---|
| Stainless Steel | Deglazing & Paste | Baking Soda & Vinegar | Add vinegar before boiling for tough marks. |
| Cast Iron | Salt Scrub | Coarse Sea Salt | Massage gently to preserve seasoning. |
| Non-Stick | Gentle Paste | Baking Soda & Water | Use soft sponge only. |
Conclusion
Let’s wrap up with the core principles that make this cleaning approach so effective and reliable. I’ve seen these methods rescue countless items from my kitchen. Understanding each material is crucial for success.
Acting quickly when food burns makes removal far easier. My focus on affordable, non-toxic ingredients keeps your family safe. It also extends the life of your investment.
For persistent issues on specific materials, a detailed step-by-step guide for stainless steel offers excellent guidance. With patience and the right technique, you can tackle any challenge.
I hope this empowers you to maintain your pans and pots with confidence. They can look and perform like new for years, even after repeated heat exposure.