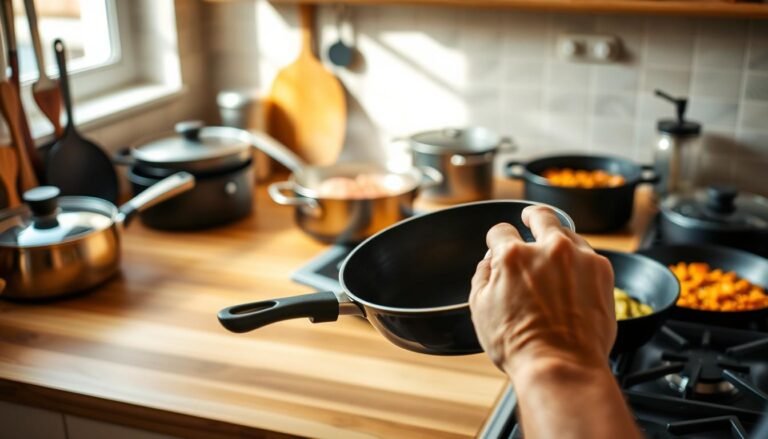
I Cleaned My Burnt Cookware Bottom
Have you ever stared at a blackened, charred pan and felt that sinking feeling of defeat? I know I have.
It happened in my own kitchen. One moment of distraction, and my favorite piece was a scorched disaster. I was sure it was ruined forever.
That overwhelming panic is real. But so is the hope for restoration. This guide documents my complete journey from that initial shock to a sparkling clean finish.
I used simple items I already had at home. No fancy products were needed, just a little patience and time. I tested multiple methods to find what truly works.
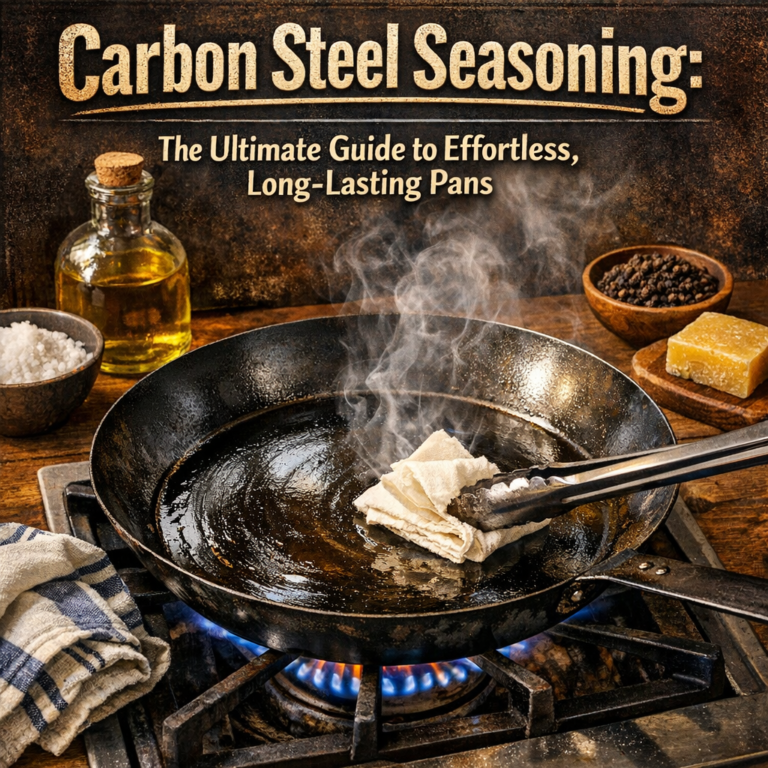
You’ll learn the steps I took to transform my damaged pans. I’ll share preventative measures and practical tips I discovered, like techniques for carbon steel pans. This is a real-world account, not just theory.
Table of Contents
Key Takeaways
- A moment of inattention can lead to a serious scorching, but it’s rarely a death sentence for your pan.
- Effective restoration is possible using common household items you likely already own.
- The process requires patience; rushing can damage the cookware further.
- Different levels of charring may respond better to specific cleaning methods.
- Learning proper aftercare, like seasoning, can prevent future disasters and save you money.
- This experience taught me valuable lessons about cookware maintenance that extend beyond just one pan.
- Anyone can tackle this common kitchen problem with the right approach and a calm mindset.
Understanding the Burnt Cookware Problem
Before I could fix the problem, I needed to understand the science behind that blackened mess. The charred layer wasn’t just dirt—it was cooked food chemically bonded to the surface.
Common Causes of Burnt-on Residue
I discovered several everyday mistakes lead to this issue. Stepping away from the stove, even briefly, was a major culprit. Forgetting to stir or using excessive temperature also created problems.
Insufficient oil or butter played a role too. Certain items like eggs, cheese, and sugary sauces are especially prone to sticking and scorching.
How Heat and Ingredients Interact
High heat causes proteins and sugars in food to fuse with metal surfaces. This creates a tight bond that’s hard to break. Grease can oxidize under intense temperatures, forming black, sticky deposits.
The longer this residue sits, the stronger these chemical bonds become. Different materials, like those in the best induction cookware, react uniquely to heat and ingredients.
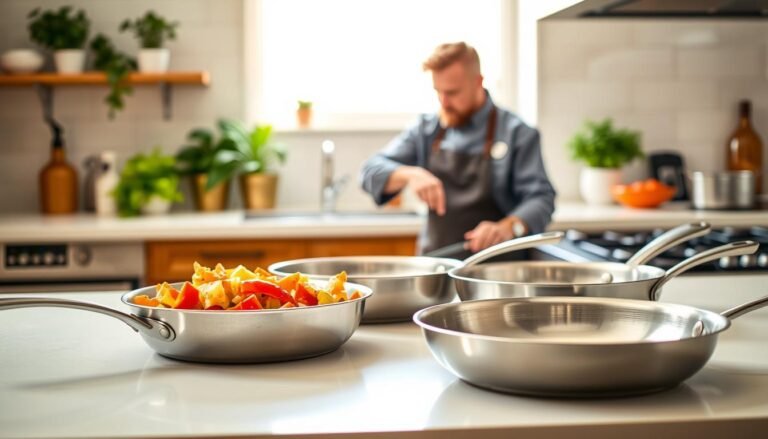
Gathering Simple Household Cleaning Items
My first step in tackling the scorched mess was a simple trip to my pantry and fridge. I was determined to use what I already owned.
No specialty products were required. The most effective solutions were common kitchen staples.

Baking Soda and Its Abrasive Power
I grabbed the box of baking soda immediately. I learned its mild abrasive properties are perfect for scrubbing.
It cleans without scratching delicate surfaces. Its alkaline pH also helps break down tough, acidic food residue.
This made it my foundational cleaning agent.
Other Must-Have Ingredients: Water, Vinegar, and Lemons
Next, I collected white vinegar. Combining it with baking soda creates a powerful fizzing action.
This reaction helps lift stubborn grime. I also picked fresh lemons for their natural acidity and fresh scent.
Plenty of water was essential for mixing pastes and simmering solutions. With these simple items, I felt confident I could restore my cookware.
My Experience with Cookware Burnt on Bottom
The moment of truth had arrived: I had to face the scorched metal and assess the full extent of the damage. I learned that even a severely affected piece isn’t necessarily ruined.
The Initial Assessment
I examined my favorite item closely. The base was covered with black, carbonized food debris. It looked welded to the stainless steel surface.

I noticed oxidation and discoloration. There appeared to be multiple layers of residue. This wasn’t just from one incident.
I initially felt very discouraged. Was my favorite pan beyond saving? Some quick research gave me real hope for restoration.
| Area of Pan | Type of Damage | Severity | Notes |
|---|---|---|---|
| Center | Carbonized Food Debris | High | Food stuck and fused to surface |
| Edges | Oxidation & Discoloration | Medium | Liquid evaporated, leaving concentrated residue |
| Overall Surface | Multiple Burnt Layers | Medium | From current and previous cooking sessions |
I decided to photograph the ‘before’ state of my bottom pan. This let me track progress and see what worked.
I checked the manufacturer’s care instructions. This was similar to guidelines for proper care for stainless steel. I didn’t want to damage the finish.
I made notes of the worst spots. The center and edges were the most challenging. I committed to testing methods on this burnt pan.
I felt motivated to share my journey. I wanted to help others save their pots from a similar fate.
Step-by-Step Guide: Baking Soda Cleaning Methods
The real transformation began when I mixed my first batch of cleaning paste. I focused on two powerful techniques using this common kitchen staple.

Creating the Right Paste Mixture
I combined three parts baking soda with one part water. For my full-sized item, this meant one cup of soda and a third cup of water.
The paste needed to be thick. I spread it liberally over every charred spot. Complete coverage was my goal.
Patience proved vital. I let the mixture work overnight. This waiting period made a huge difference.
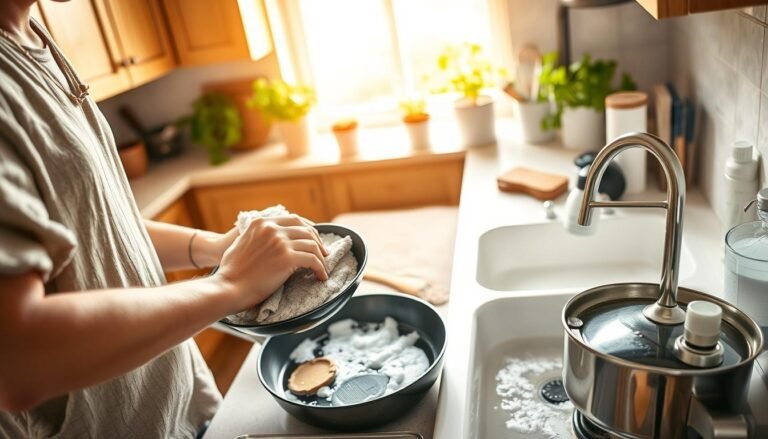
Simmering and Scrubbing Techniques
I also tested a heat-based method. First, I removed loose debris and heated the pan until water droplets sizzled.
Adding a cup of water, I let it boil. I used a spatula to scrape the bottom gently. This deglazing action loosened many bits.
After pouring out the liquid, I sprinkled more baking soda on the warm surface. Letting it cool was a crucial safety step.
For stubborn areas, I thinned the paste with a quarter cup of water and brought it to a boil on the stove. The heat accelerated the cleaning process.
Once cool, I scrubbed vigorously with a nylon brush. I added fresh tablespoons baking soda as an abrasive boost. The synergy of these steps was remarkable, much like the principles discussed in this guide on baking soda and pots and pans.
Alternative Cleaning Techniques for Stubborn Stains
The toughest spots demanded a shift in tactics, leading me to vinegar and citrus. Some residues simply laughed at my initial efforts.
I needed stronger chemical reactions to clean the most persistent, baked-on food.
Using Vinegar and Boiling Water
My first alternative method involved baking soda and vinegar. I removed loose debris and poured in enough white vinegar to cover the bottom.
I brought the vinegar to a boil and let it simmer. The acid started working on the burnt layer. Following advice, I moved the pan to the sink.
Adding a cup of baking soda created a dramatic fizz. I waited for the soda-vinegar reaction to stop. After discarding the liquid, I scrubbed with a nylon brush.
This method was moderately effective. It earned a 3 out of 5 rating in my test. It required significant scrubbing time with hot water.
Lemon-Based Cleaning and Its Benefits
I also experimented with fresh lemons. For one method, I sprinkled baking soda, added a thin layer of water, and used a lemon half to scour the surface.
The acidic juice created a gentle fizz. It helped lift particles and left a pleasant citrus scent. My kitchen smelled fresh.
Another approach was to boil quartered lemons in plenty of water. I simmered them for ten minutes. Some debris floated to the top.
While this pan treatment worked well on light stains, it was less powerful for heavy residue. The lemon method rated a 2 out of 5. Combining acid and hot water provides a good one-two punch.
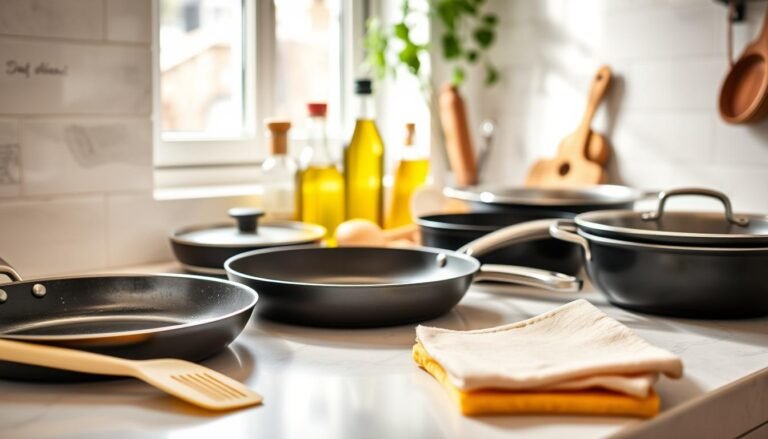
Precautions for Different Types of Cookware
The restoration process revealed a fundamental truth about my pots and pans—their material dictates their care. I learned that using the wrong technique could ruin a good piece.
This meant adapting my approach for each unique surface. What worked for one type could damage another.
Cleaning Non-Stick and Ceramic Surfaces
I treated my non-stick items with kid gloves. Metal tools or a harsh scouring pad were off-limits.
For light residue, I covered the base with warm water. I sprinkled baking soda to form a paste and let it sit overnight.
A soft nylon brush or non-stick safe sponge did the scrubbing. For tougher spots, I boiled a water and baking soda solution in the pan.
After it cooled, I added more soda and gently scrubbed. This method lifted grime without scratching the delicate surface.
Tips for Cast Iron and Stainless Steel
My cast iron pot required a totally different protocol. Water and acidic cleaners like vinegar were enemies.
They strip the seasoning and cause rust. I used a dry baking soda paste with minimal water.
I scrubbed with a stiff-bristle brush and no soap. Immediate, thorough drying was non-negotiable.
Then, I applied a thin layer of oil and heated it to re-season. For detailed steps, I consulted this cast iron care guide.
My stainless steel pieces were the workhorses. I could use metal pads, acidic solutions, and long soaks without worry.
They tolerated vigorous cleaning. I always checked the manufacturer’s care guide for specific steel advice.
| Material | Key Precautions | Safe Tools | Re-season? |
|---|---|---|---|
| Non-Stick/Ceramic | Avoid metal & abrasive pads | Soft sponge, nylon brush | No |
| Cast Iron | Avoid water, soap, acid | Stiff brush, scouring pad | Yes, after every clean |
| Stainless Steel | Few limits; check manufacturer guide | Metal pad, any brush | No |
This tailored approach saved my cookware. It ensured every pot and pan lasted for years.
Preventative Measures and Maintenance Tips
The real victory wasn’t just cleaning the mess; it was learning how to stop it from happening again. I developed a system of simple habits that protect my pots pans.
These tips save me immense time and effort. They turn a reactive chore into proactive care.
Regular Cleaning Routine Ideas
My core method is washing items immediately after use, while they’re still warm. This prevents food from hardening into a cemented layer.
I sprinkle a little baking soda during every wash. It tackles invisible grease on the bottom before it builds up.
Every few weeks, I give all my pots pans a thorough deep clean. This addresses any residual film.
Consistency is key. A small time investment now prevents a major problem later.
| Preventative Habit | Frequency | Key Benefit |
|---|---|---|
| Warm Wash After Use | After every meal | Stops food from bonding to surface |
| Baking Soda Rinse | With regular washing | Cuts grease & prevents stains |
| Deep Scrub Session | Bi-weekly or monthly | Removes hidden residue |
How to Avoid Future Burnt Residues
The best tips involve cooking smarter. I always use enough oil and manage heat levels carefully.
I preheat my pan properly and adjust temperatures while cooking. This drastically reduces sticking.
My favorite method is deglazing. After cooking, I add a splash of liquid to the hot pan.
“A moment of prevention is worth an hour of scrubbing.”
This quick step lifts any bits before they carbonize. It’s a game-changer for keeping surfaces pristine.
Staying attentive is the ultimate tip. These practices have made my cleaning routine effortless.
For more detailed cleaning a burnt pan or pot strategies, explore additional resources. Investing a few minutes saves hours.
Conclusion
I began this endeavor feeling defeated, but concluded with a sparkling clean pan and renewed assurance. My hands-on testing identified top performers. Dishwasher tablets delivered perfect results in minutes. Bar Keepers Friend was highly effective with little effort.
The aluminum foil approach enhanced the standard baking soda process. The traditional baking soda and vinegar method demanded more scrubbing. Fresh lemons proved least powerful for tough, baked-on grime.
Several techniques can effectively address a charred cooking surface. The right approach and some patience yield success. I now confront any kitchen mishap with knowledge.
Consistent maintenance stops most issues before they start. For ongoing care tips, especially for stainless steel, explore this guide on cleaning burnt stainless steel pans.
This experience rescued my favorite item and imparted valuable, long-term care lessons.